
Invite an employee
In heyStaff you do not create employees with a password yourself. You send an invitation by email and the recipient chooses their own password. Any manager can do this.
Send an invitation
Section titled “Send an invitation”- Go to Medarbejdere (Employees) and click + Inviter medarbejder.
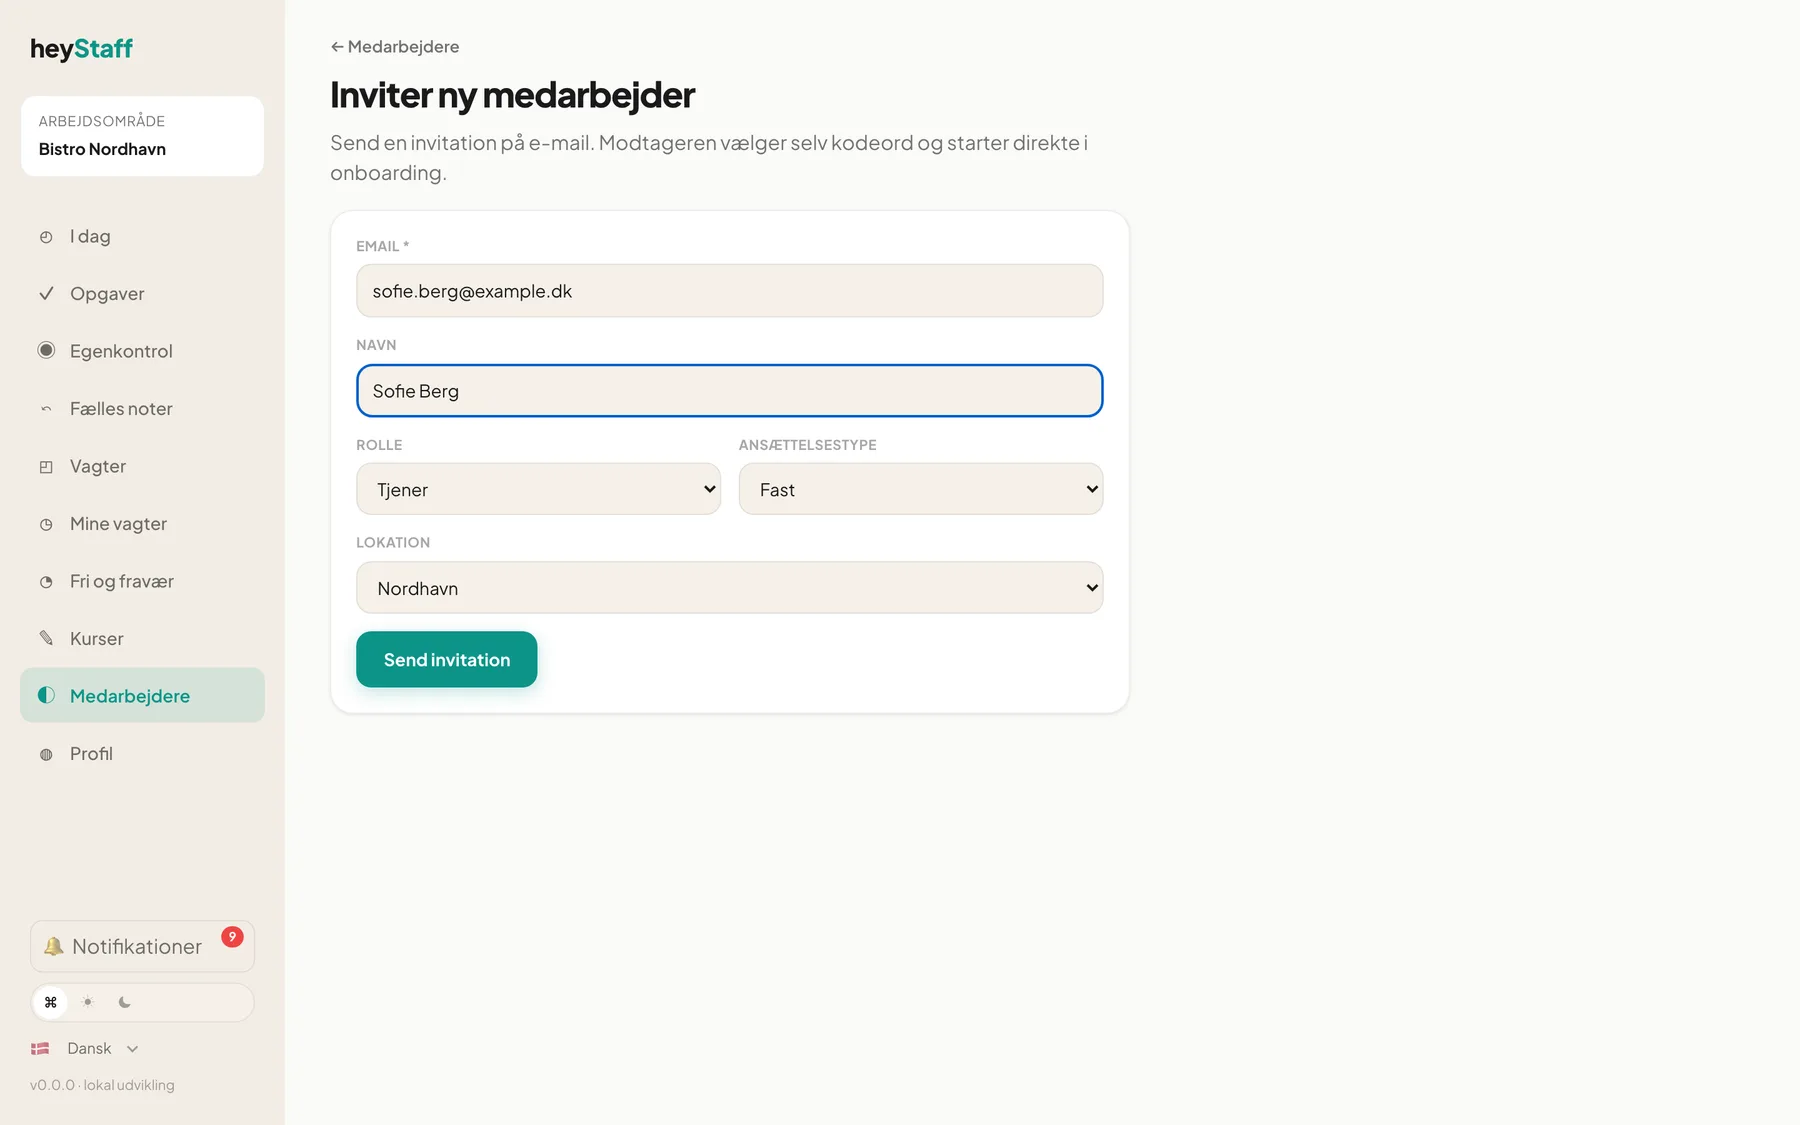
- Fill in the form Inviter ny medarbejder (Invite new employee):
- Email (required): the recipient’s address, e.g.
sofie.berg@example.dk. - Navn (Name): optional, used in the welcome greeting.
- Rolle (Role): pick from your location’s roles. The role name becomes the employee’s job title.
- Ansættelsestype (Employment type): Fast (permanent), Tidsbegrænset (fixed term), Vikar (temp), Freelance, Elev (apprentice), Praktikant (intern) or Tilkalde (on call).
- Lokation (Location): where the employee will work.
- Email (required): the recipient’s address, e.g.
- Click Send invitation.
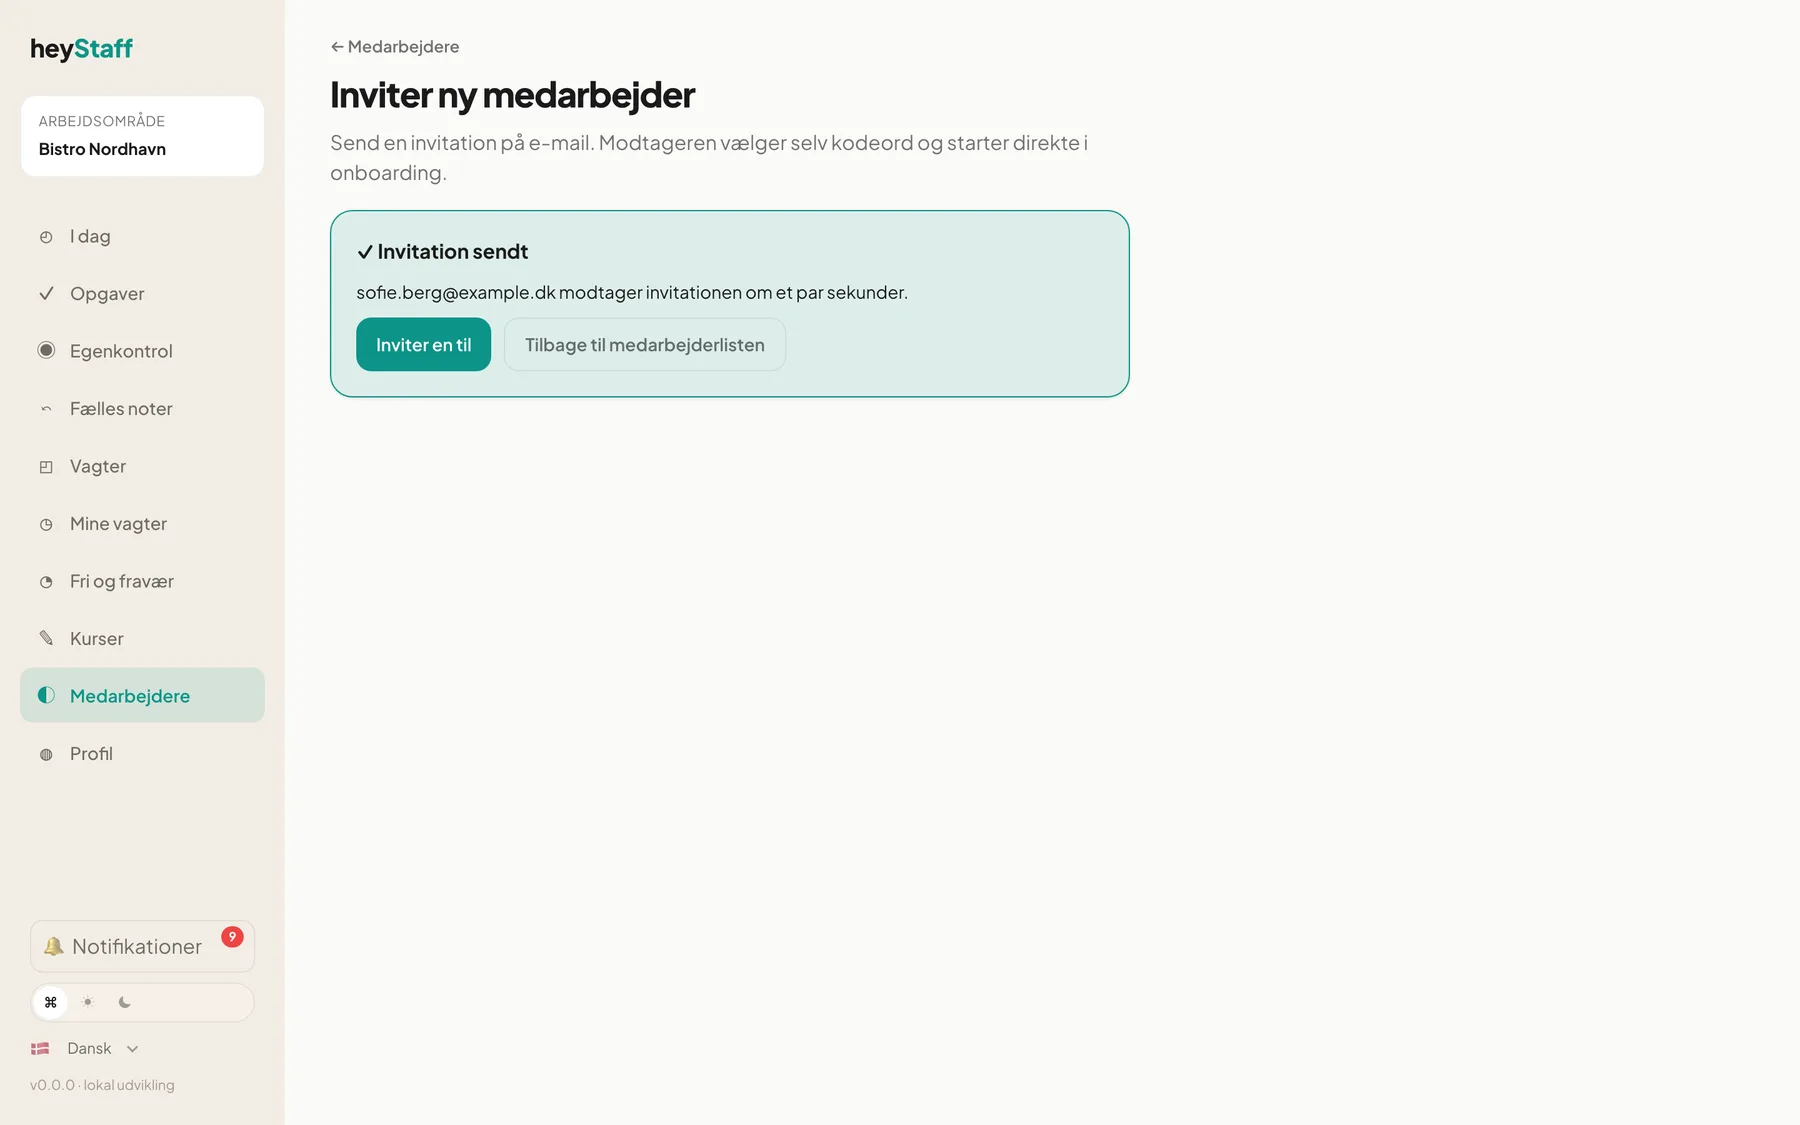
Once sent you see a confirmation with two options: Inviter en til (Invite another) and Tilbage til medarbejderlisten (Back to the employee list).
Important: Rolle is required. If the location has no roles you are told to create one first. See Roles.
What the recipient gets
Section titled “What the recipient gets”The recipient receives an email with the subject Du er inviteret til at arbejde hos followed by the business name. It says who invited them, which role and location, and has the button Aktivér din konto (Activate your account). The link works for 14 days, and the expiry date is stated in the email.
How the employee accepts
Section titled “How the employee accepts”- The employee clicks the link and sees a welcome page with the business name, location and role.
- Under Hvad må vi kalde dig? (What should we call you?) they can correct their name.
- Under Vælg et kodeord and Bekræft kodeord they choose a password of at least 10 characters.
- Clicking Opret konto og start onboarding creates the account and sends them to the login page.
- After logging in the employee lands in heyStaff and the onboarding tasks are ready.
If the person already has a heyStaff account with the same email, that account is linked to your workspace instead of creating a new one.
What happens in the system
Section titled “What happens in the system”- The employee appears in the employee list with status Onboarding.
- An employment is created with type flex and an hourly rate of 0. You must enter the real terms yourself, see An employee’s employment.
- The steps from the onboarding template are copied to the employee as tasks.
Tip: Create the roles and check the template before inviting a larger group. Changes to the template do not affect people who are already invited.
If the email does not arrive
Section titled “If the email does not arrive”After sending, the confirmation may be yellow with an explanation instead:
| Message | Meaning |
|---|---|
| Email sending is not configured | The system cannot send mail yet. Contact technical support |
| The address is on a suppression list | The address has bounced or complained before. Use another |
| Send error | Something went wrong at the mail provider. Contact technical support |
The invitation itself is created in every case and sits under Afventer accept.
Can I resend an invitation? Delete the pending invitation under Afventer accept and send a new one.
The link has expired. Now what? The employee is told to ask their manager for a new link. Delete the old invitation and send a new one.
Can I add a manager through an invitation? No. An invitation always creates an ordinary employee without manager rights, whichever role you pick.