
An employee's employment
Click an employee in the employee list to open their employment. The page gathers everything that belongs to the person in your workspace and is visible to managers only.
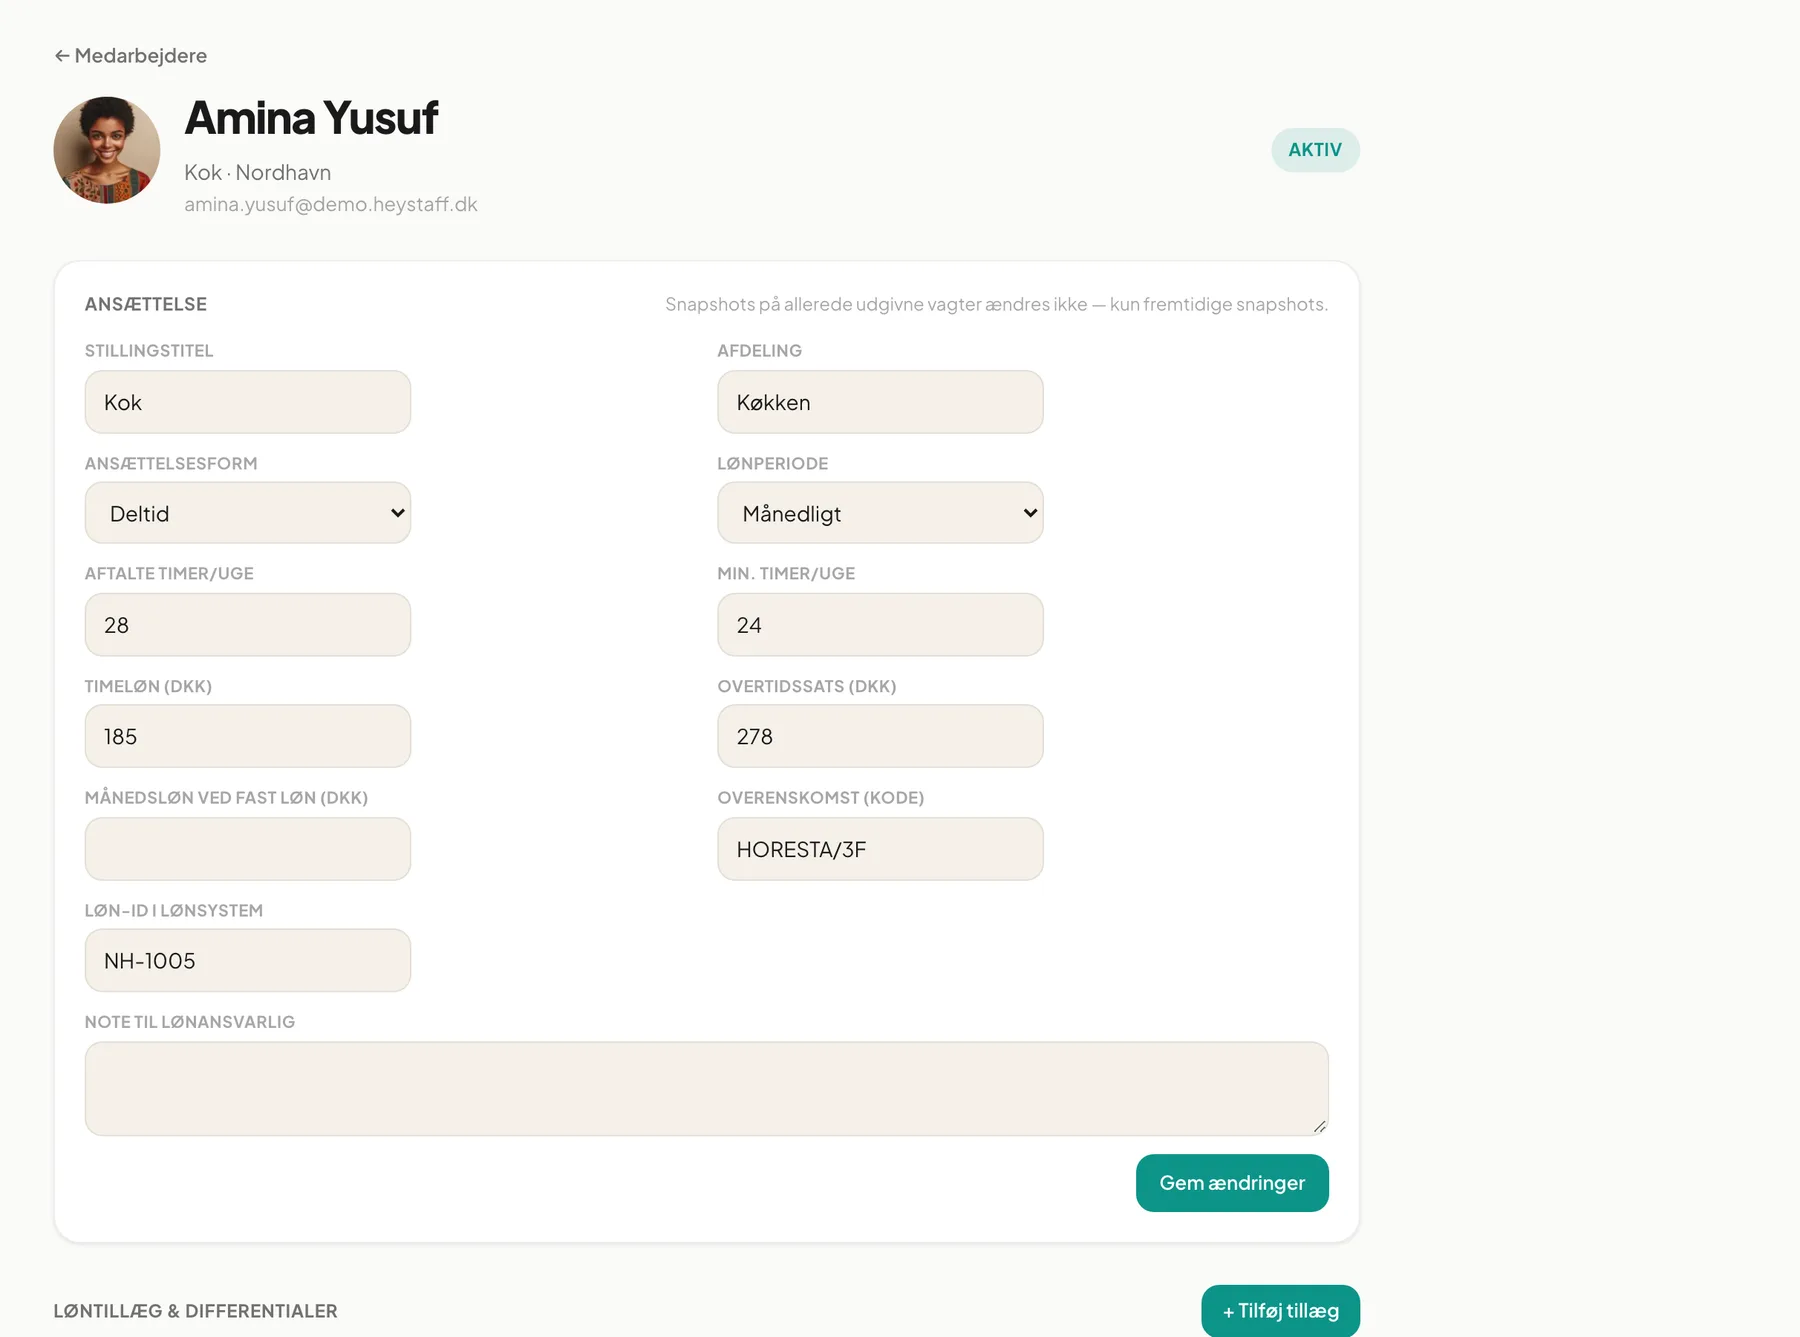
At the top you see avatar, name, job title, location, email and a status badge such as Aktiv (Active) or Onboarding.
Employment
Section titled “Employment”Under Ansættelse (Employment) you edit the terms. Remember to click Gem ændringer (Save changes), after which you see Gemt. (Saved).
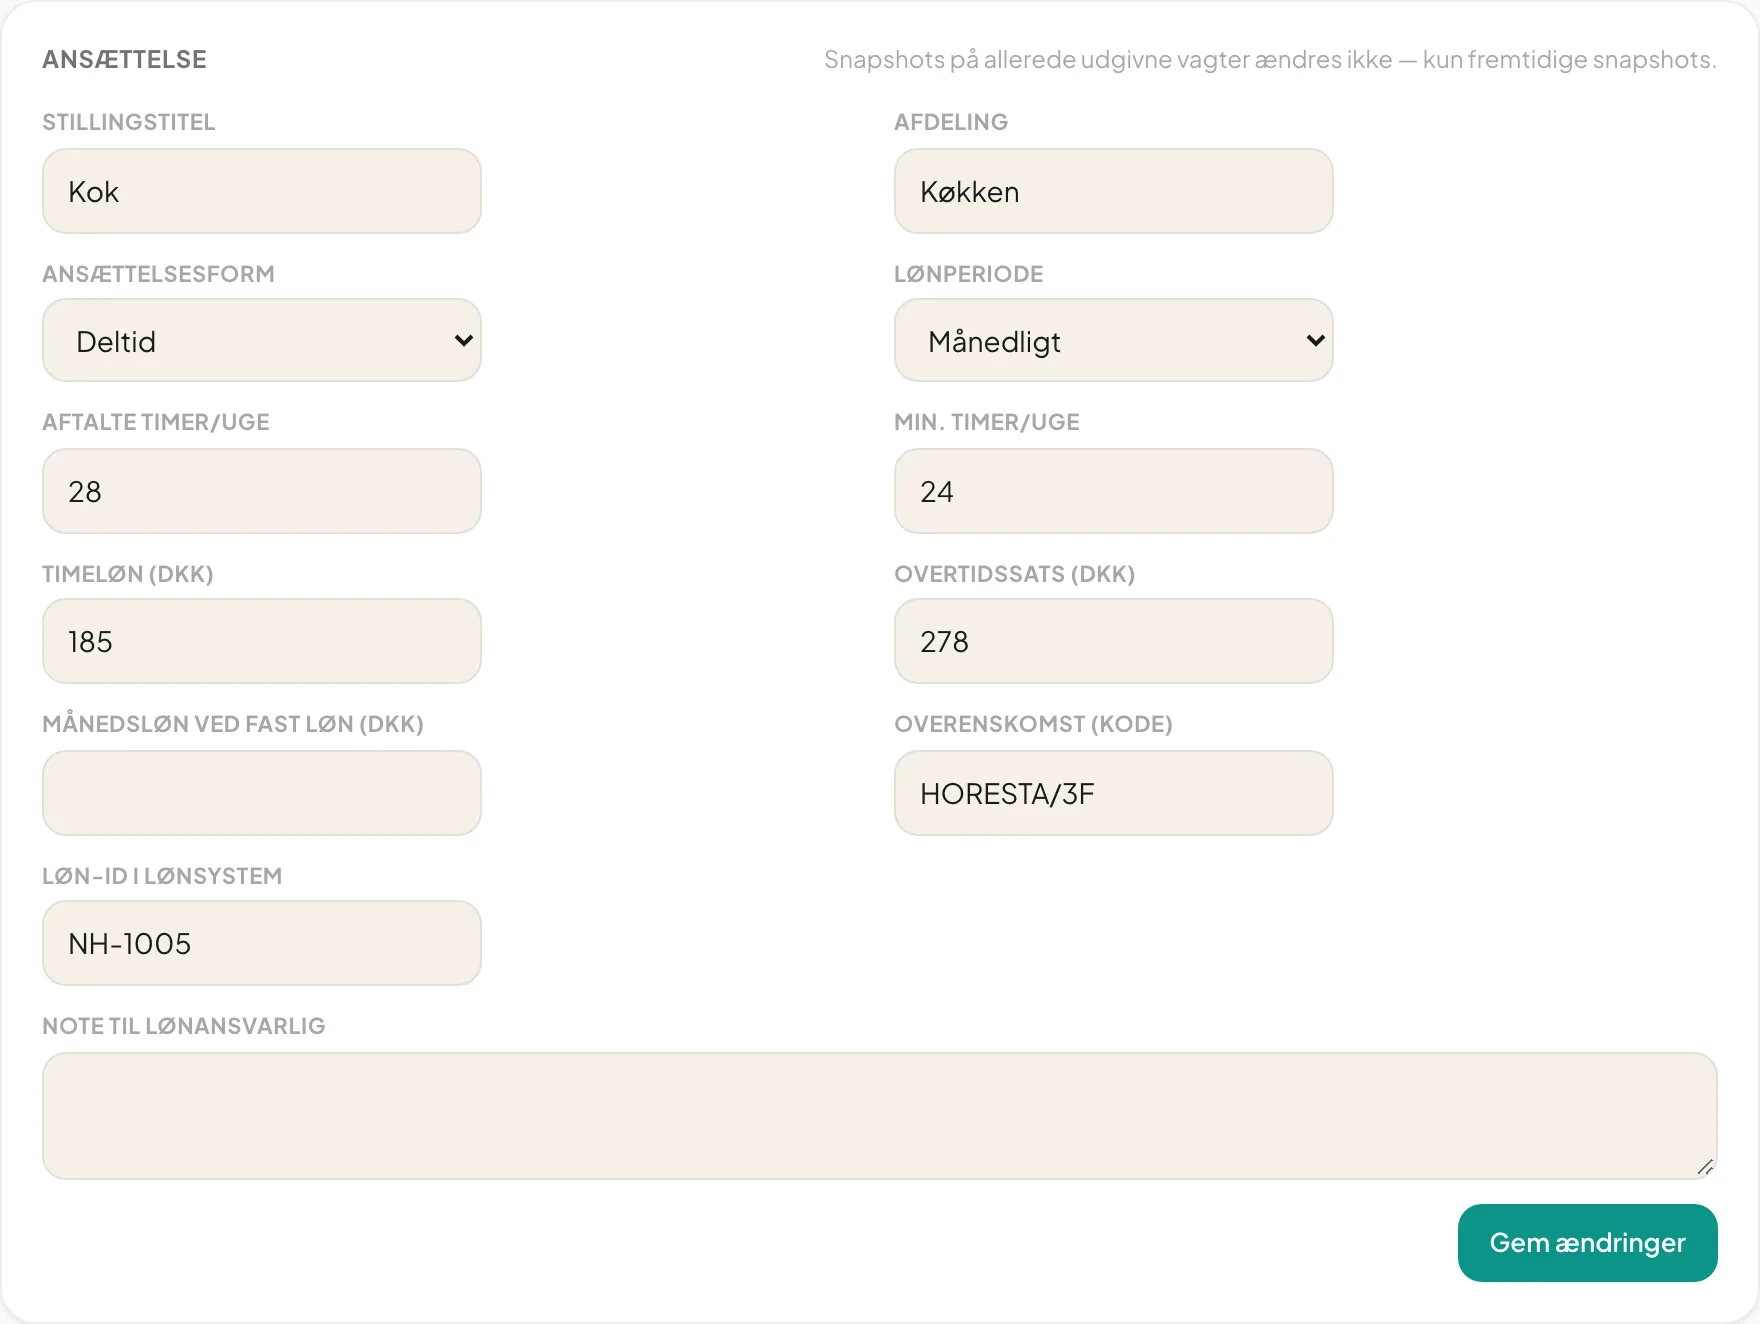
| Field | Used for |
|---|---|
| Stillingstitel (Job title) | The title shown in the list and on shifts |
| Afdeling (Department) | E.g. Køkken (Kitchen) |
| Ansættelsesform (Employment form) | Fuldtid (full time), Deltid (part time), Timeansat (hourly) or Tilkalde (on call) |
| Lønperiode (Pay period) | Månedligt (monthly), Hver 14. dag (every 14 days) or Ugentligt (weekly) |
| Aftalte timer/uge | The hours per week agreed |
| Min. timer/uge | Guaranteed minimum |
| Timeløn (DKK) | Base hourly rate. Required |
| Overtidssats (DKK) | Hourly rate for overtime |
| Månedsløn ved fast løn (DKK) | Salaried employees only |
| Overenskomst (kode) | Collective agreement code, e.g. HORESTA/3F |
| Løn-ID i lønsystem | The employee’s number in your payroll system |
| Note til lønansvarlig | Free text for whoever runs payroll |
Important: Pay changes apply to future shifts. Shifts that have already been published keep the rate they had at publication. This keeps historical labour cost correct, and the form reminds you at the top.
Newly invited employees start with an hourly rate of 0. Enter the real rate before publishing shifts.
Pay supplements and differentials
Section titled “Pay supplements and differentials”Here you add supplements on top of the hourly rate, such as an evening supplement. See the dedicated page Pay supplements.
Onboarding
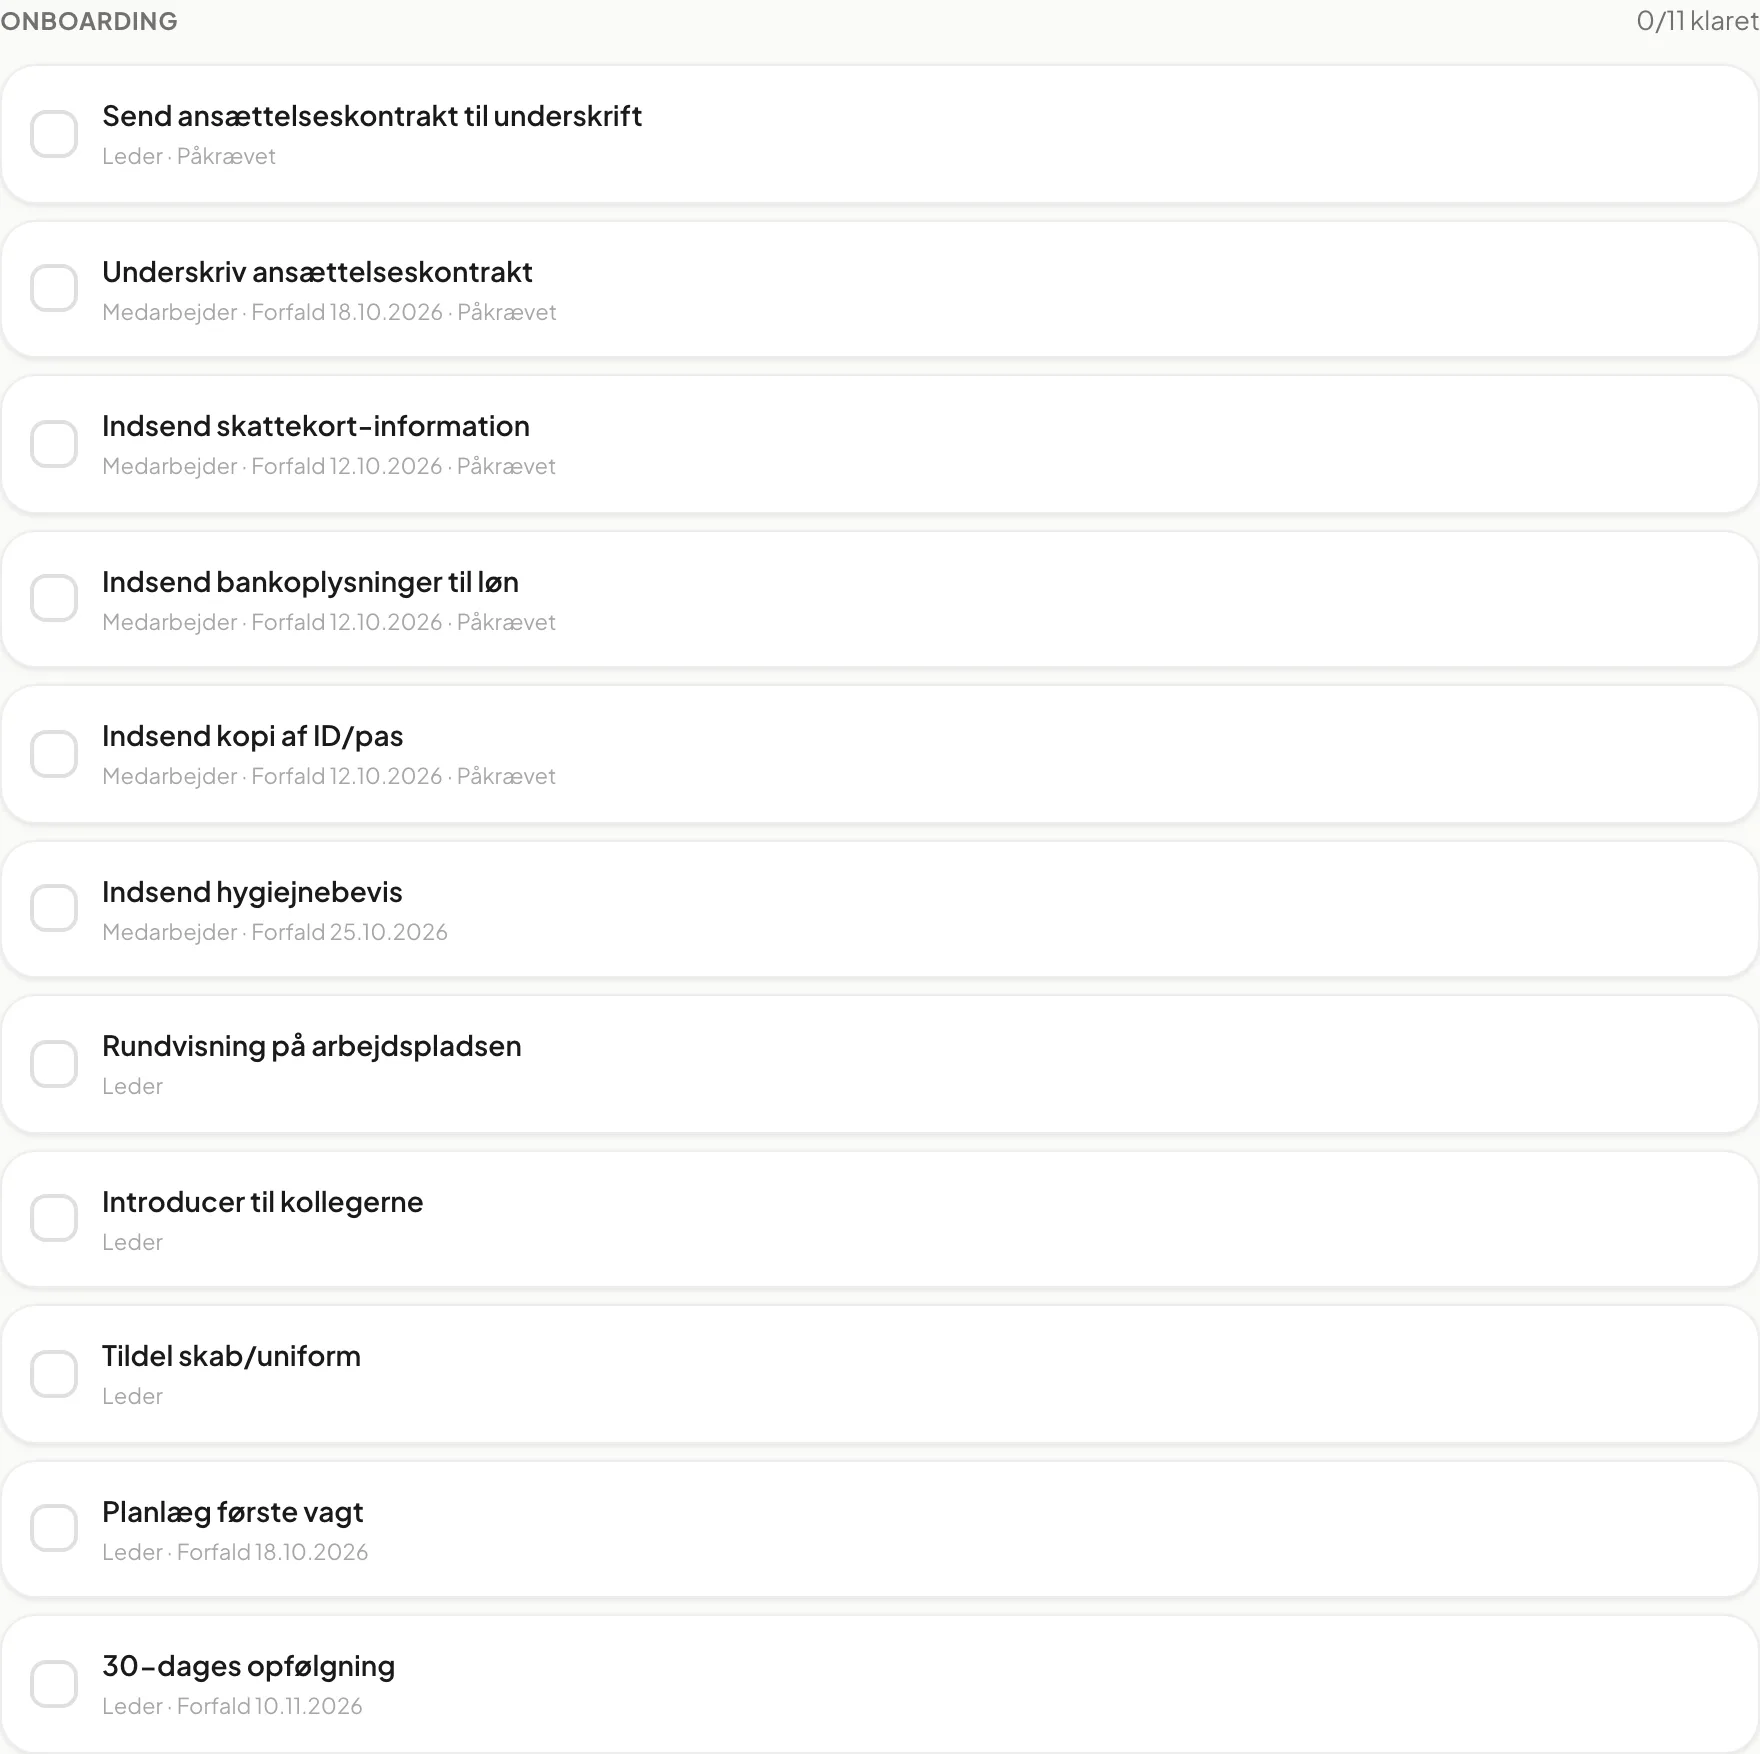
Section titled “Onboarding”Under Onboarding you see the employee’s tasks, copied from the onboarding template. The counter, e.g. 0/11 klaret (0/11 done), shows progress. Each task shows who performs it (Medarbejder, Leder, HR or System), any deadline and whether it is required. Click the box to the left of a task to mark it done, and click again to undo.
Make the employee active
Section titled “Make the employee active”For employees with status Onboarding or Inviteret the panel Afslut onboarding (Finish onboarding) appears. The button Markér som aktiv (Mark as active) only becomes available once all required tasks are done. Until then it says Der mangler stadig påkrævede opgaver (Required tasks are still missing). Once active, the employee can start being given shifts.
Documents
Section titled “Documents”Under Dokumenter you can upload files with + Upload dokument: Kontrakt (contract), ID/pas, Hygiejnebevis (food hygiene), Førstehjælpsbevis (first aid), Kørekort/licens, Skattekort (tax card) or Andet (other). Choose a file, type, an optional name and optionally an expiry date. Documents with an expiry date get the badges Snart udløbet (within 30 days) and Udløbet (expired). Use Hent (download) and Slet (delete) in the row.

Tip: Always set an expiry date on hygiene certificates so you can see when they need renewing.
Can I change the employee’s email or avatar here? No. The page shows email and picture, but the employee changes them in their own profile.
Where do I put an employee on leave? That is not yet possible from this page. Today the status can be set to Active, archived or deleted, see Ending an employment.